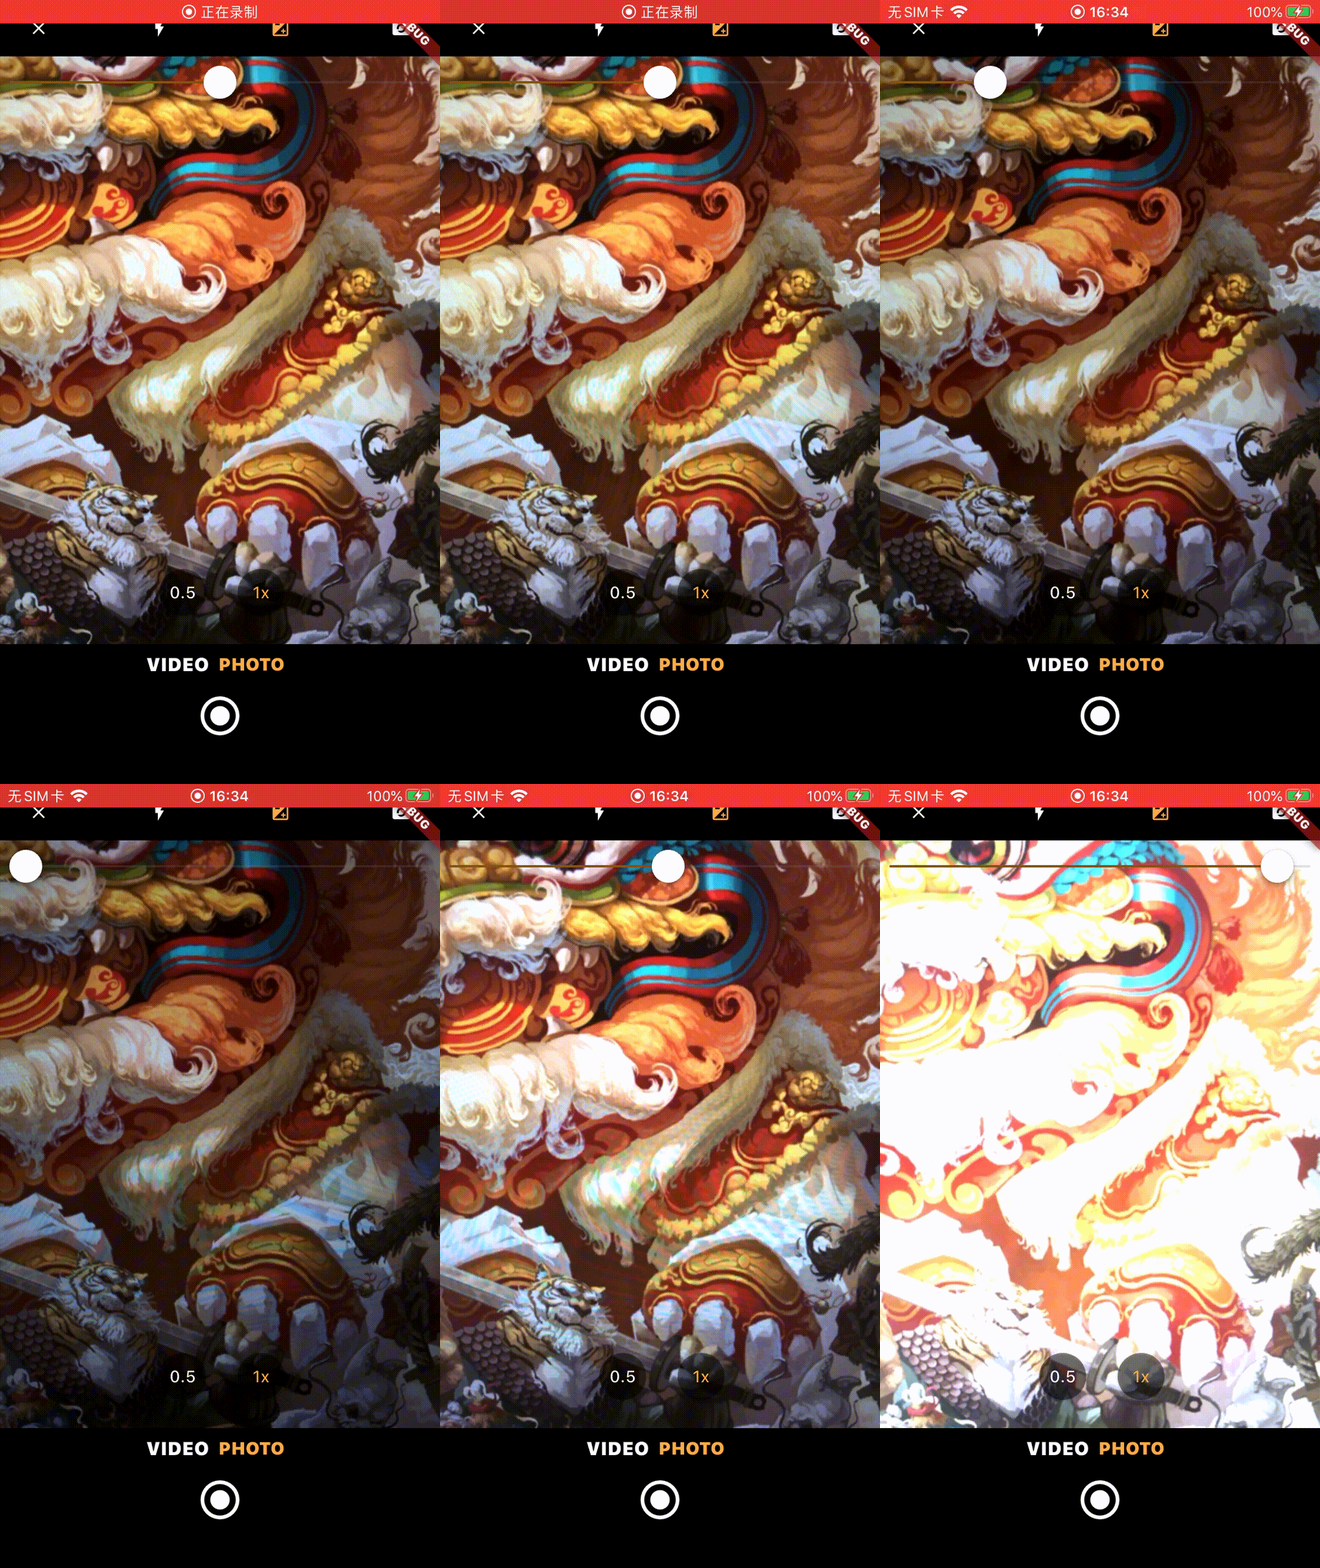
曝光 Flutter上CupertinoSlider组件的样式是iOS上的Slider,使用该组件控制曝光量,CameraController的
1
2
3
Future <double > setExposureOffset (double offset) async {... }
最后调用iOS端的系统方法控制曝光值
1 - (void )setExposureTargetBias:(float )bias completionHandler:(nullable void (^)(CMTime syncTime))handler API_AVAILABLE(ios(8.0 ), macCatalyst(14.0 ), tvos(17.0 )) API_UNAVAILABLE(macos, visionos);
1
2
3
4
5
6
7
8
9
10
11
12
13
14
15
16
17
18
19
20
21
22
23
24
25
26
27
28
29
30
31
class TakePictureScreenState extends State <TakePictureScreen > double currentExposure = 0.0 ; bool _showedExposure = false ; ... Widget showExposure () { if (_showedExposure) { return SizedBox ( height: 44 , width: MediaQuery .of (context).size.width, child: CupertinoSlider ( onChanged: (value) { setState (() { _controller.setExposureOffset (value); currentExposure = value; }); }, min: -3 , max: 3 , value: currentExposure, ), ); } return SizedBox .shrink (); } }
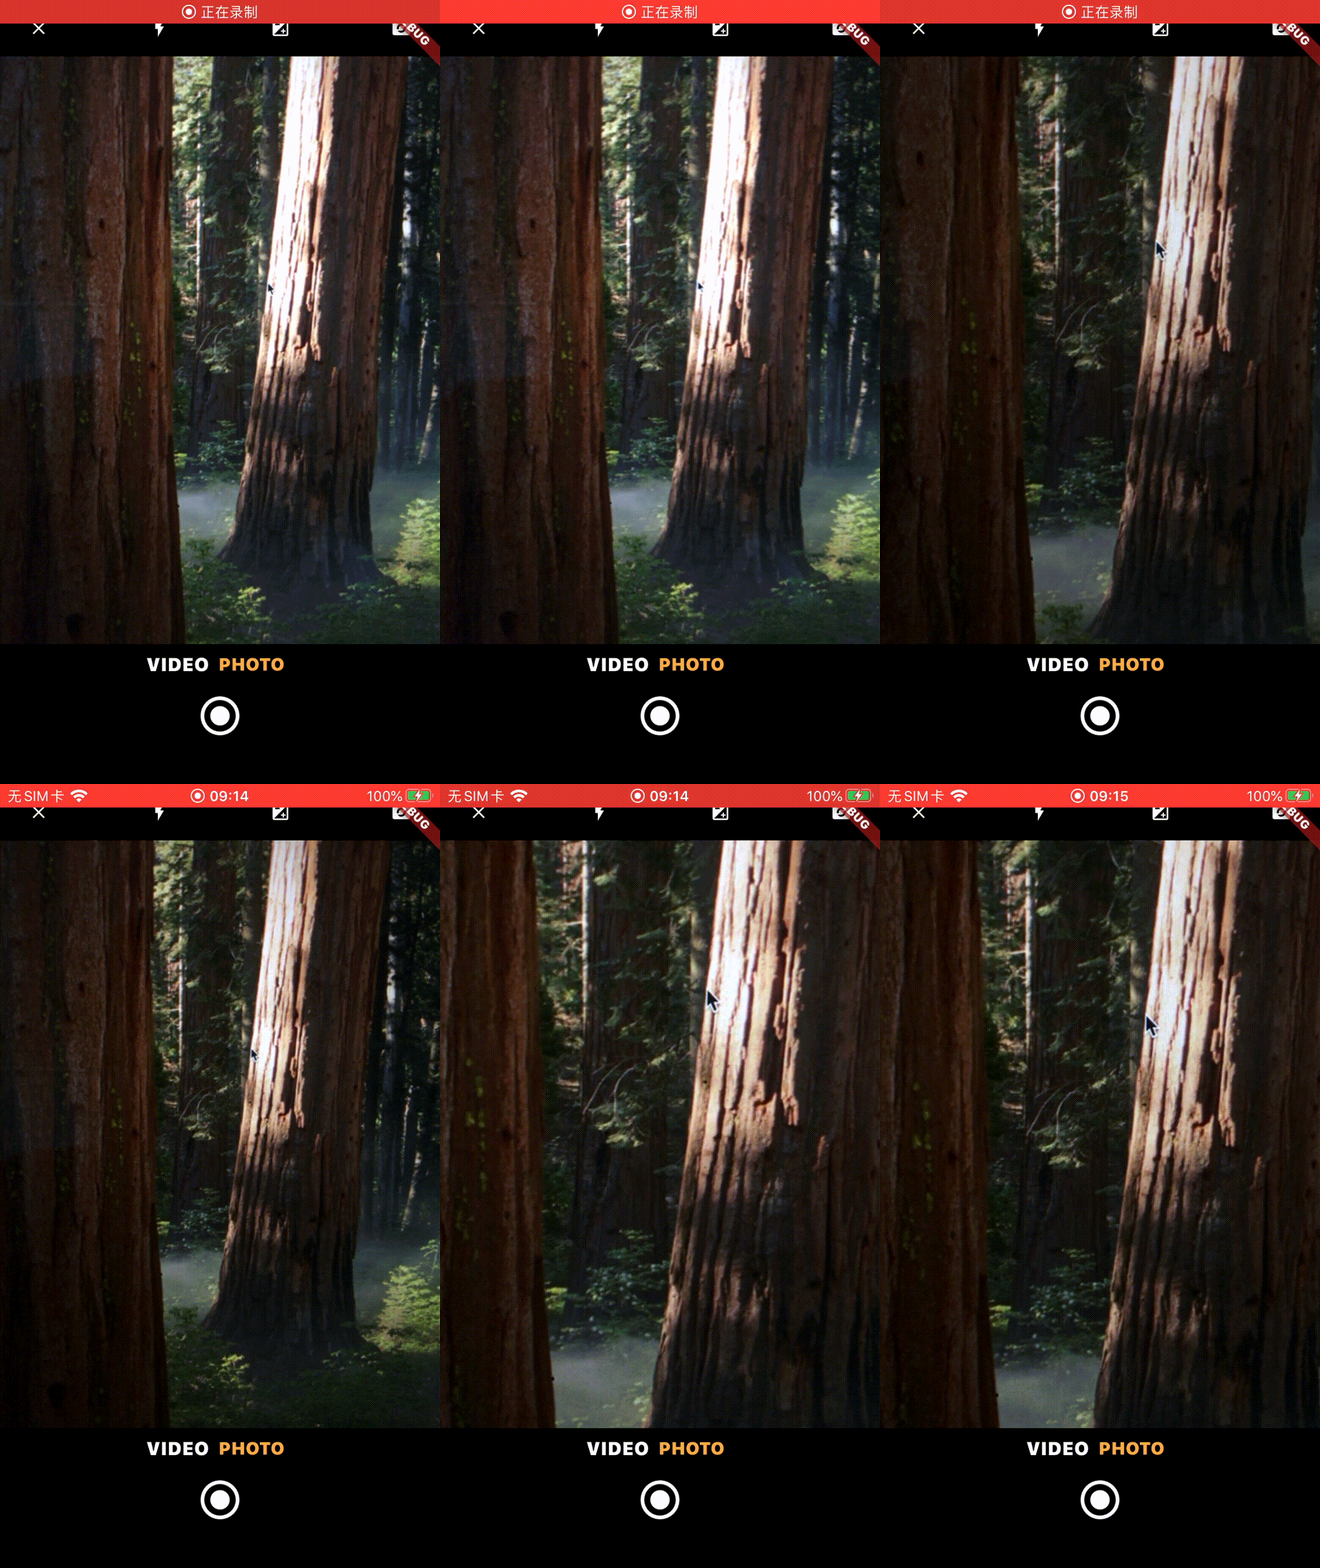
两指手势缩放 系统的相机可以双指进行缩放操作,在Flutter中可以在GestureDetector来实现
1 2 3 4 5 6 7 8 9 10 11 12 13 14 15 16 17 18 19 20 21 22 23 24 25 26 27 28 29 30 31 32 33 34 35 36 37 38 39 40 41 42 43 44 45 46 47 48 49 50 51 52 53 54 55 double _minAvailableZoom = 1.0 ;double _maxAvailableZoom = 1.0 ;double _currentScale = 1.0 ;double _baseScale = 1.0 ;Listener ( onPointerDown: (_) => _pointers++, onPointerUp: (_) => _pointers--, child: CameraPreview ( _controller, child: LayoutBuilder ( builder: (BuildContext context, BoxConstraints constraints) { return GestureDetector ( behavior: HitTestBehavior .opaque, onScaleStart: _handleScaleStart, onScaleUpdate: _handleScaleUpdate, onTapDown: (TapDownDetails details) => onViewFinderTap (details, constraints), ); }, ), ), ); void _handleScaleStart (ScaleStartDetails details) { _baseScale = _currentScale; } Future <void > _handleScaleUpdate (ScaleUpdateDetails details) async { if (_pointers != 2 ) { return ; } _currentScale = (_baseScale * details.scale).clamp ( _minAvailableZoom, _maxAvailableZoom, ); await _controller.setZoomLevel (_currentScale); }
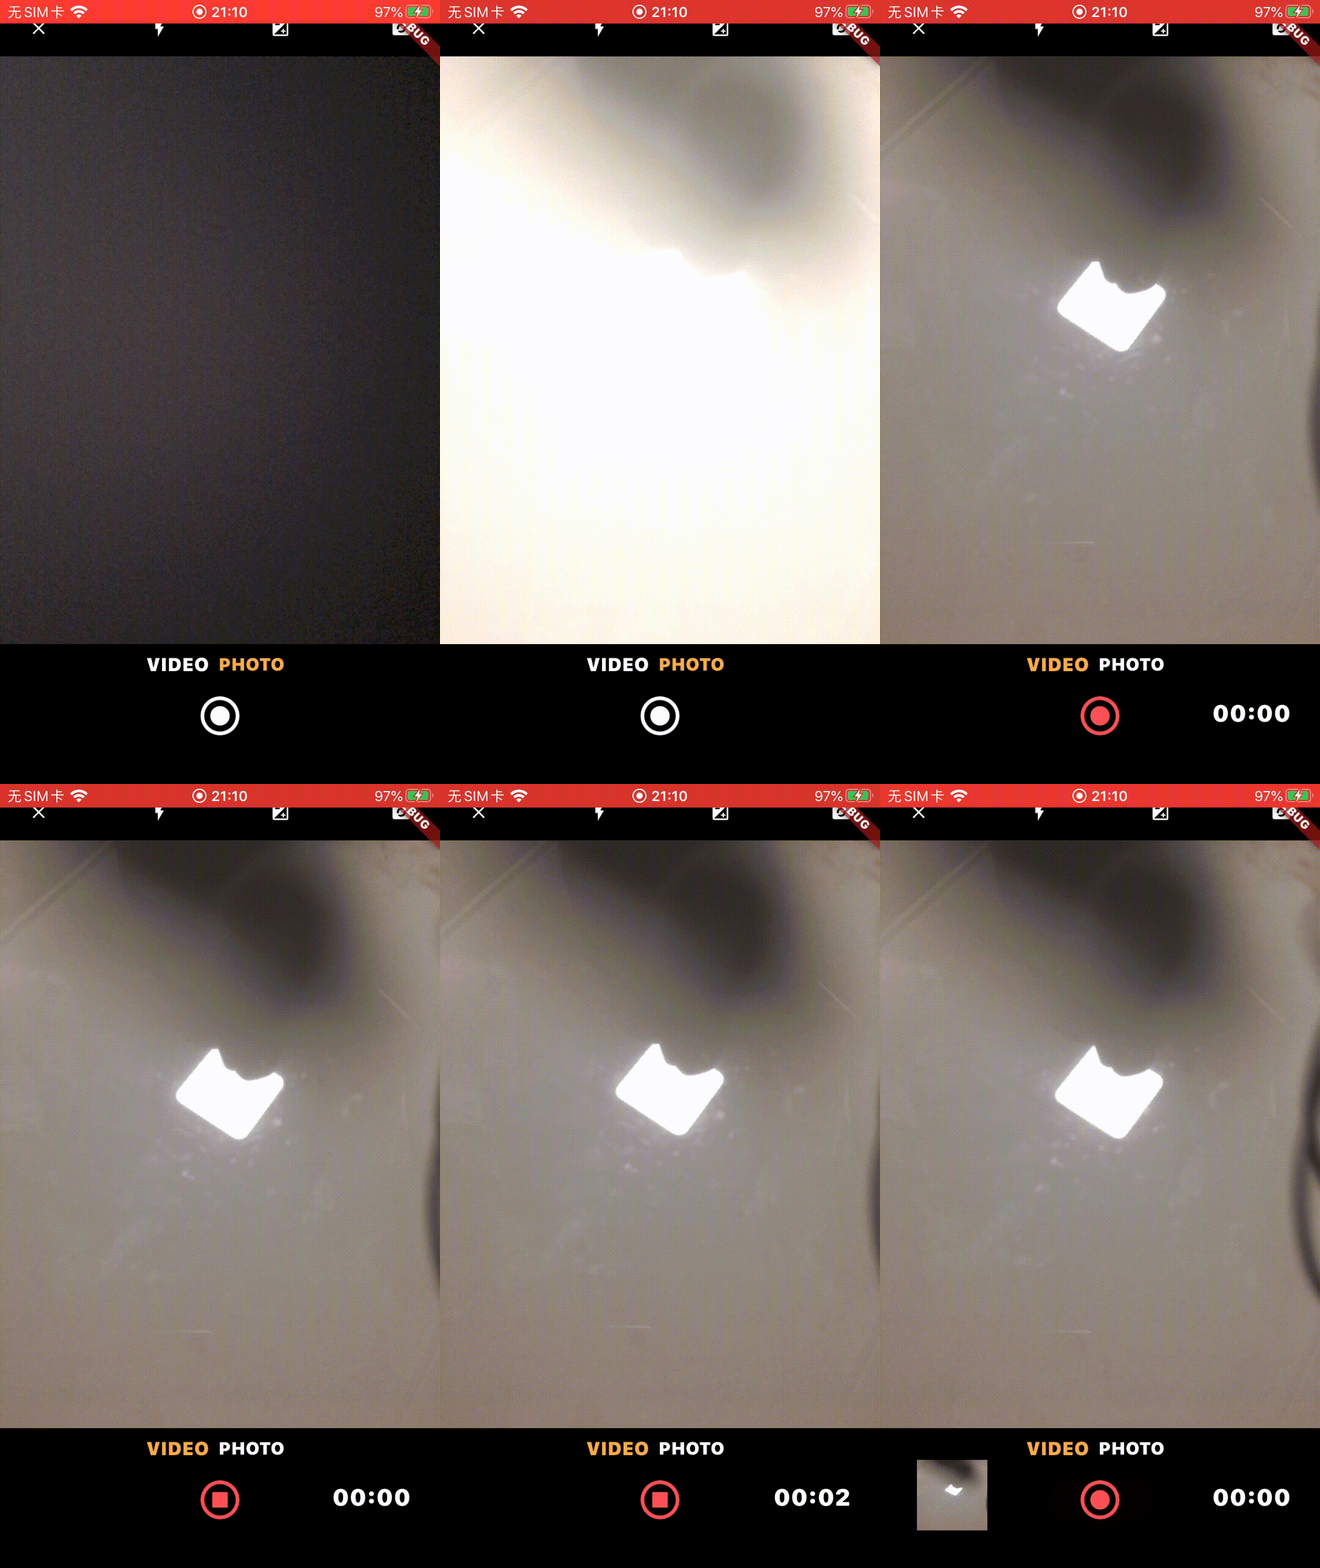
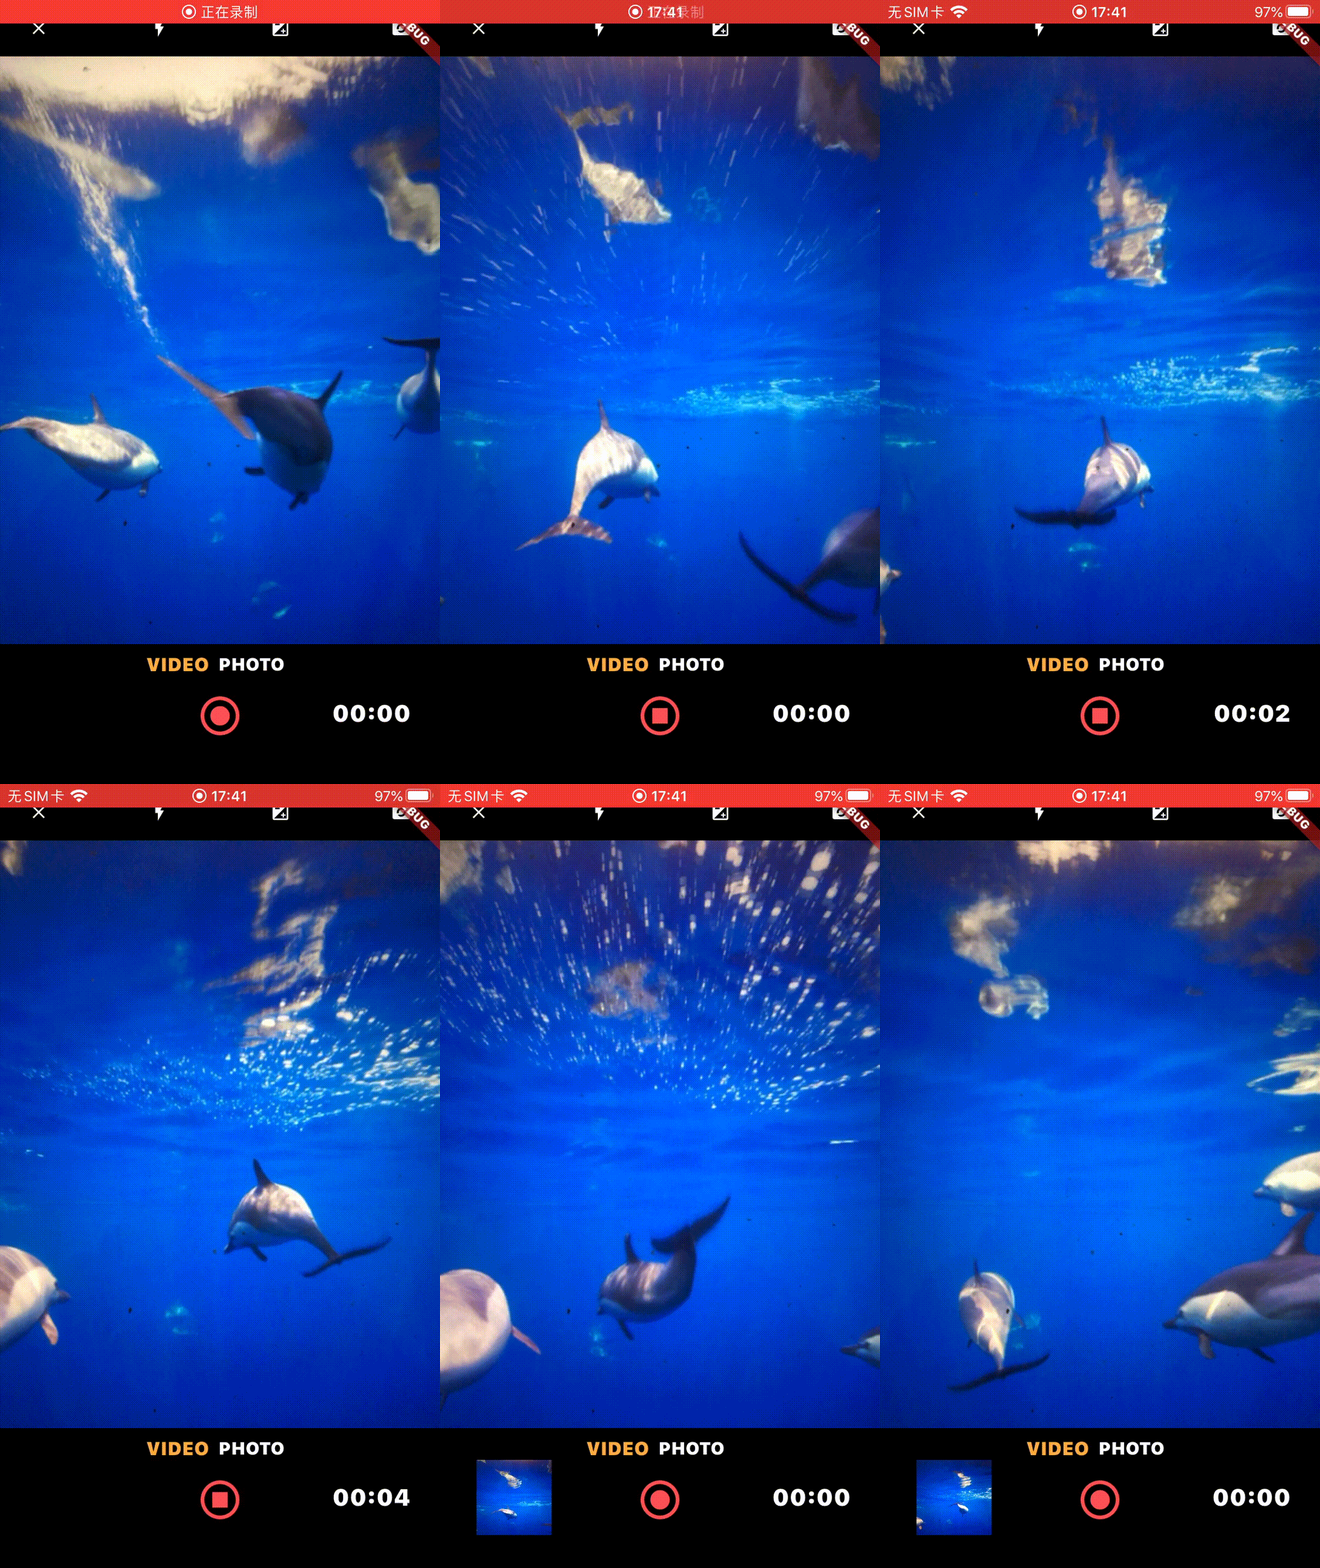
录制视频 使用Camera组件中的cameraController.startVideoRecording()方法来开始拍摄视频,然后用cameraController.stopVideoRecording()方法可以结束视频。
1
2
3
4
5
6
7
8
9
10
11
12
13
14
15
16
onPressed: () async { await _initializeControllerFuture; if (_isPhotoMode) { ... } else { if (_controller.value.isRecordingVideo) { onStopButtonPressed (); } else { onVideoRecordButtonPressed (); } } }
录制过程中显示时间
1
2
3
4
5
6
7
8
9
10
11
12
13
14
15
16
17
18
19
20
21
22
23
24
25
26
27
28
29
30
31
32
33
34
35
36
37
38
39
40
41
42
43
44
45
46
47
48
class TakePictureScreenState extends State <TakePictureScreen > with WidgetsBindingObserver { ... Timer ? _timer; int _totalSeconds = 0 ; String _formatTime () { final minutes = (_totalSeconds ~/ 60 ).toString ().padLeft (2 , '0' ); final seconds = (_totalSeconds % 60 ).toString ().padLeft (2 , '0' ); return '$minutes :$seconds ' ; } void _startTimer () { _timer = Timer .periodic (Duration (seconds: 1 ), (timer) { setState (() { _totalSeconds++; }); }); } @override void dispose () { _controller.dispose (); _timer?.cancel (); super .dispose (); } Widget timingWidget () { return Align ( alignment: const Alignment (0.9 , 0 ), child: Padding ( padding: EdgeInsets .fromLTRB (0 , 20 , 10 , 20 ), child: Text ( _formatTime (), style: TextStyle ( color: Colors .white, fontSize: 20 , decoration: TextDecoration .none, ), ), ), ); } }
点击录制事件
1
2
3
4
5
6
7
8
9
10
11
12
13
14
15
16
17
18
19
20
21
22
23
24
25
26
27
28
void onVideoRecordButtonPressed () { startVideoRecording ().then ((_) { if (mounted) { _startTimer (); setState (() {}); } }); } Future <void > startVideoRecording () async { final CameraController cameraController = _controller; if (!cameraController.value.isInitialized) { return ; } if (cameraController.value.isRecordingVideo) { return ; } try { await cameraController.startVideoRecording (); } on CameraException catch (e) { debugPrint (e.toString ()); return ; } }
结束录制
1
2
3
4
5
6
7
8
9
10
11
12
13
14
15
16
17
18
19
20
21
22
23
24
25
26
27
28
29
30
31
32
33
void onStopButtonPressed () { stopVideoRecording ().then ((XFile ? file) { if (mounted) { if (_timer?.isActive == true ) { _timer?.cancel (); _totalSeconds = 0 ; } setState (() {}); } if (file != null ) { videoFile = file; _startVideoPlayer (); } }); } Future <XFile ?> stopVideoRecording () async { final CameraController cameraController = _controller; if (!cameraController.value.isRecordingVideo) { return null ; } try { return cameraController.stopVideoRecording (); } on CameraException catch (e) { debugPrint (e.toString ()); return null ; } }
查看拍摄视频 添加video_player组件用于预览视频
1
2
¥ flutter pub add video_player ¥ flutter pub get
录制结束后调用_startVideoPlayer方法
1
2
3
4
5
6
7
8
9
10
11
12
13
14
15
16
17
18
19
20
21
22
23
24
25
26
27
28
29
30
31
32
33
34
35
36
Future <void > _startVideoPlayer () async { if (videoFile == null ) { return ; } final VideoPlayerController vController = kIsWeb ? VideoPlayerController .networkUrl (Uri .parse (videoFile!.path)) : VideoPlayerController .file (File (videoFile!.path)); videoPlayerListener = () { if (videoController != null ) { if (mounted) { setState (() {}); } videoController!.removeListener (videoPlayerListener!); } }; vController.addListener (videoPlayerListener!); await vController.setLooping (true ); await vController.initialize (); await videoController?.dispose (); if (mounted) { setState (() { imageFile = null ; videoController = vController; }); } await vController.play (); }
预览图组件
1
2
3
4
5
6
7
8
9
10
11
12
13
14
15
16
17
18
19
20
21
22
23
24
25
26
Widget _thumbnailWidget () { final VideoPlayerController ? localVideoController = videoController; bool isNoThumbnail = localVideoController == null && imageFile == null ; return Align ( alignment: Alignment (-0.8 , 0 ), child: SizedBox ( width: 64 , height: 64 , child: isNoThumbnail ? Container () : GestureDetector ( ... child: (localVideoController == null ) ? ( kIsWeb ? Image .network (imageFile!.path) : Image .file (File (imageFile!.path))) : AspectRatio ( aspectRatio: localVideoController.value.aspectRatio, child: VideoPlayer (localVideoController), ), )
因为是点击的是同一个按钮进行拍照和视频,一些元素的控制
1 2 3 4 5 6 7 8 9 10 11 12 13 14 15 16 17 18 19 20 21 22 23 24 25 26 27 28 29 30 31 32 33 34 35 36 37 GestureDetector ( child: Container ( margin: EdgeInsets .fromLTRB (0 , 8 , 8 , 0 ), child: Text ( "VIDEO" , style: TextStyle ( color: _isPhotoMode ? Colors .white : Colors .orangeAccent, fontSize: 16 , decoration: TextDecoration .none, ), ), ), onTap: () => { setState (() { _isPhotoMode = false ; imageFile = null ; }), }, ), if (_isPhotoMode) { final image = await _controller.takePicture (); if (!context.mounted) return ; setState (() { imageFile = image; videoController?.dispose (); videoController = null ; }); } else { ... }
问题 锁定相机方向,避免手机横屏时相机视图变化 使用CameraController对象的lockCaptureOrientation方法可以锁定相机的方向
1
2
3
4
5
6
7
8
... if (snapshot.connectionState == ConnectionState .done) { _controller.lockCaptureOrientation ( DeviceOrientation .portraitUp, ); return CameraPreview (_controller); }
参考
Fixing Stretched Camera Preview on Flutter Rotation Camera How to set Flutter CameraPreview Size “Fullscreen”