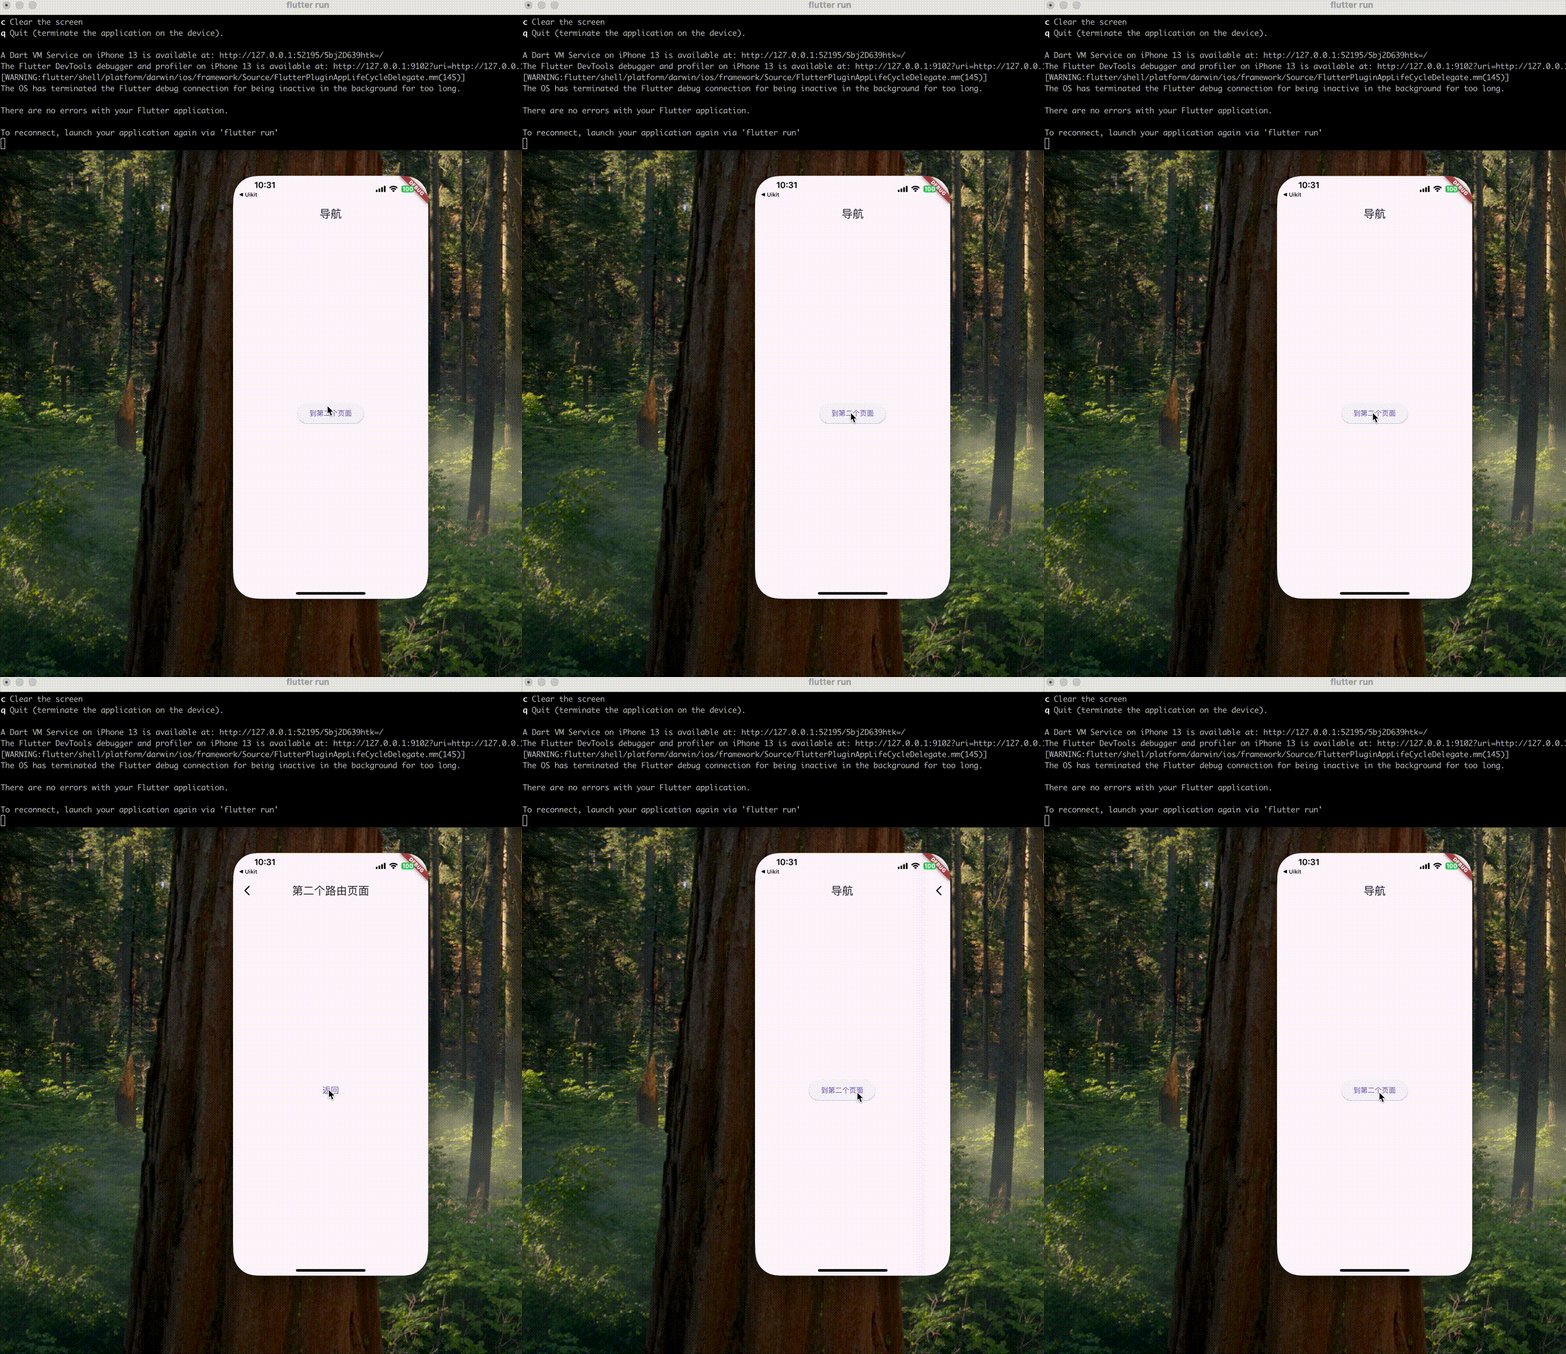
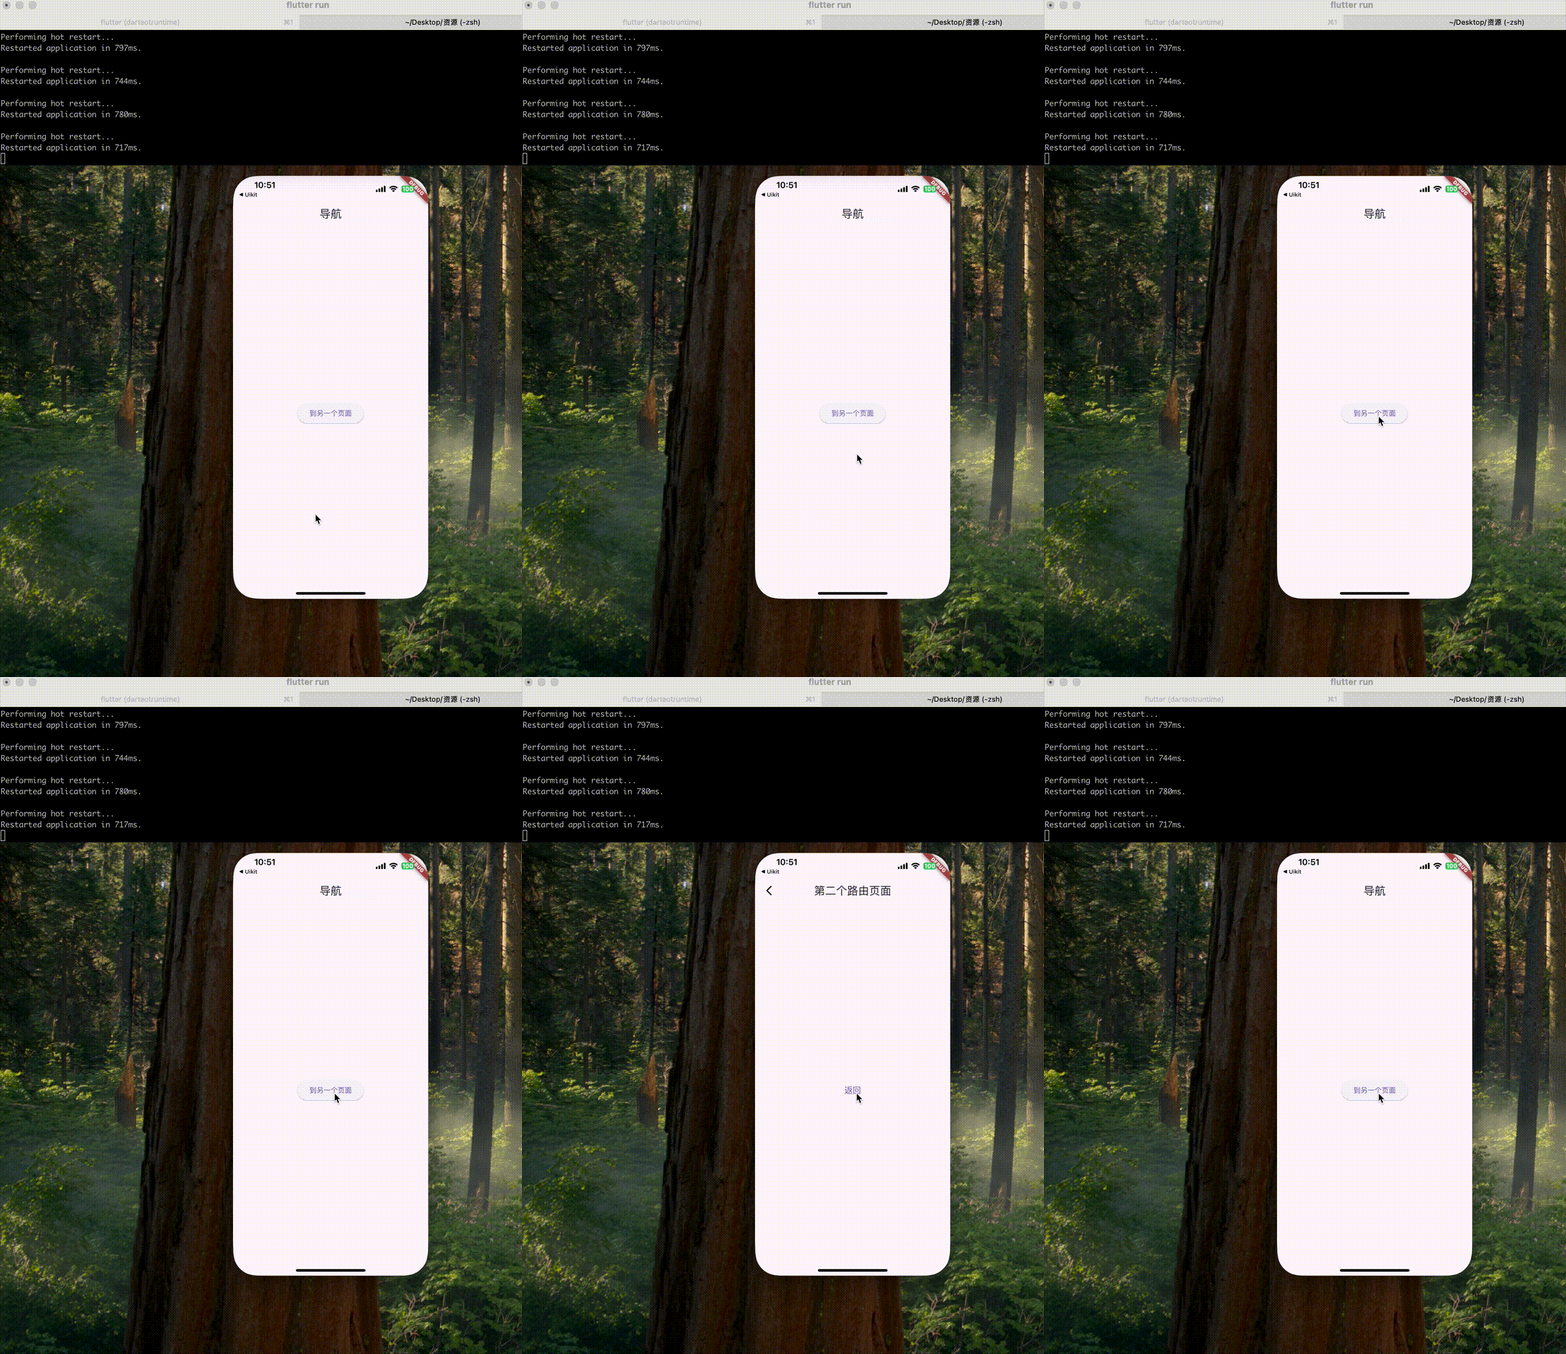
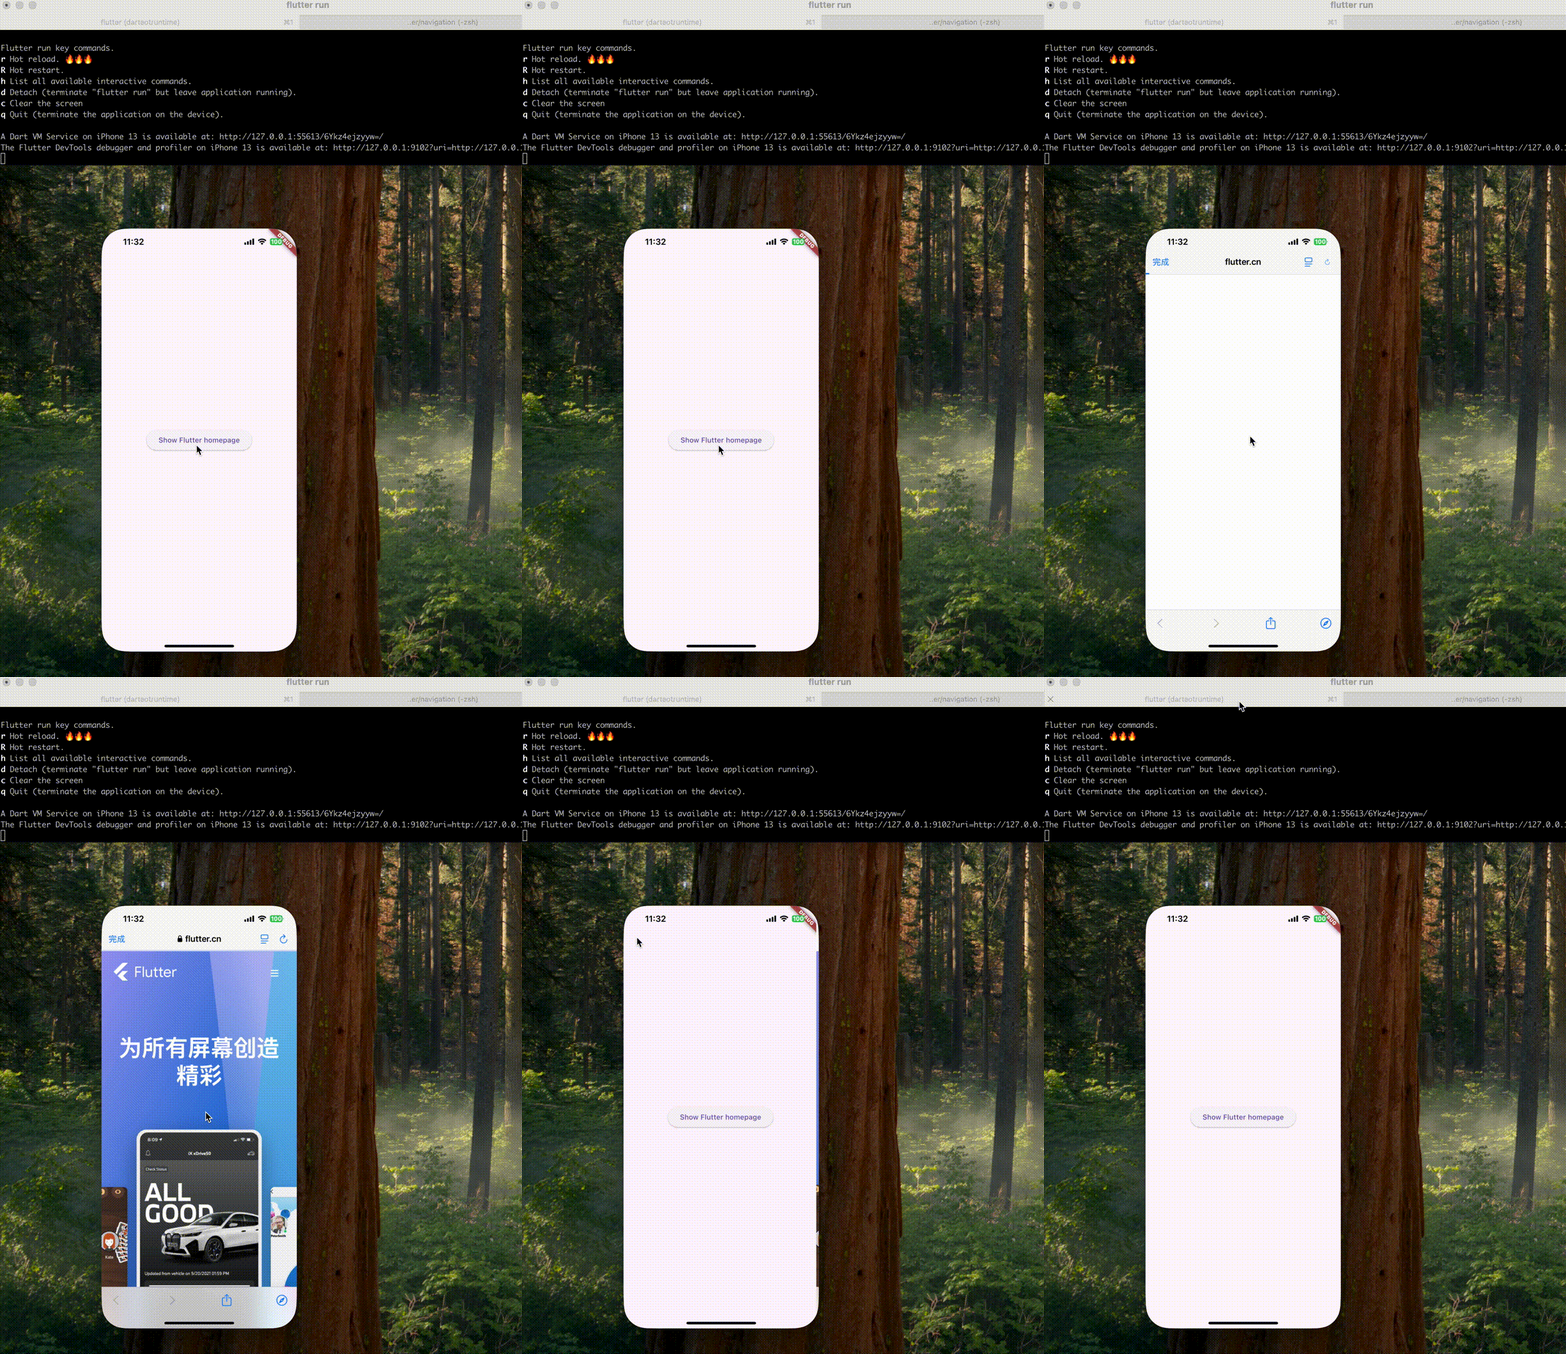
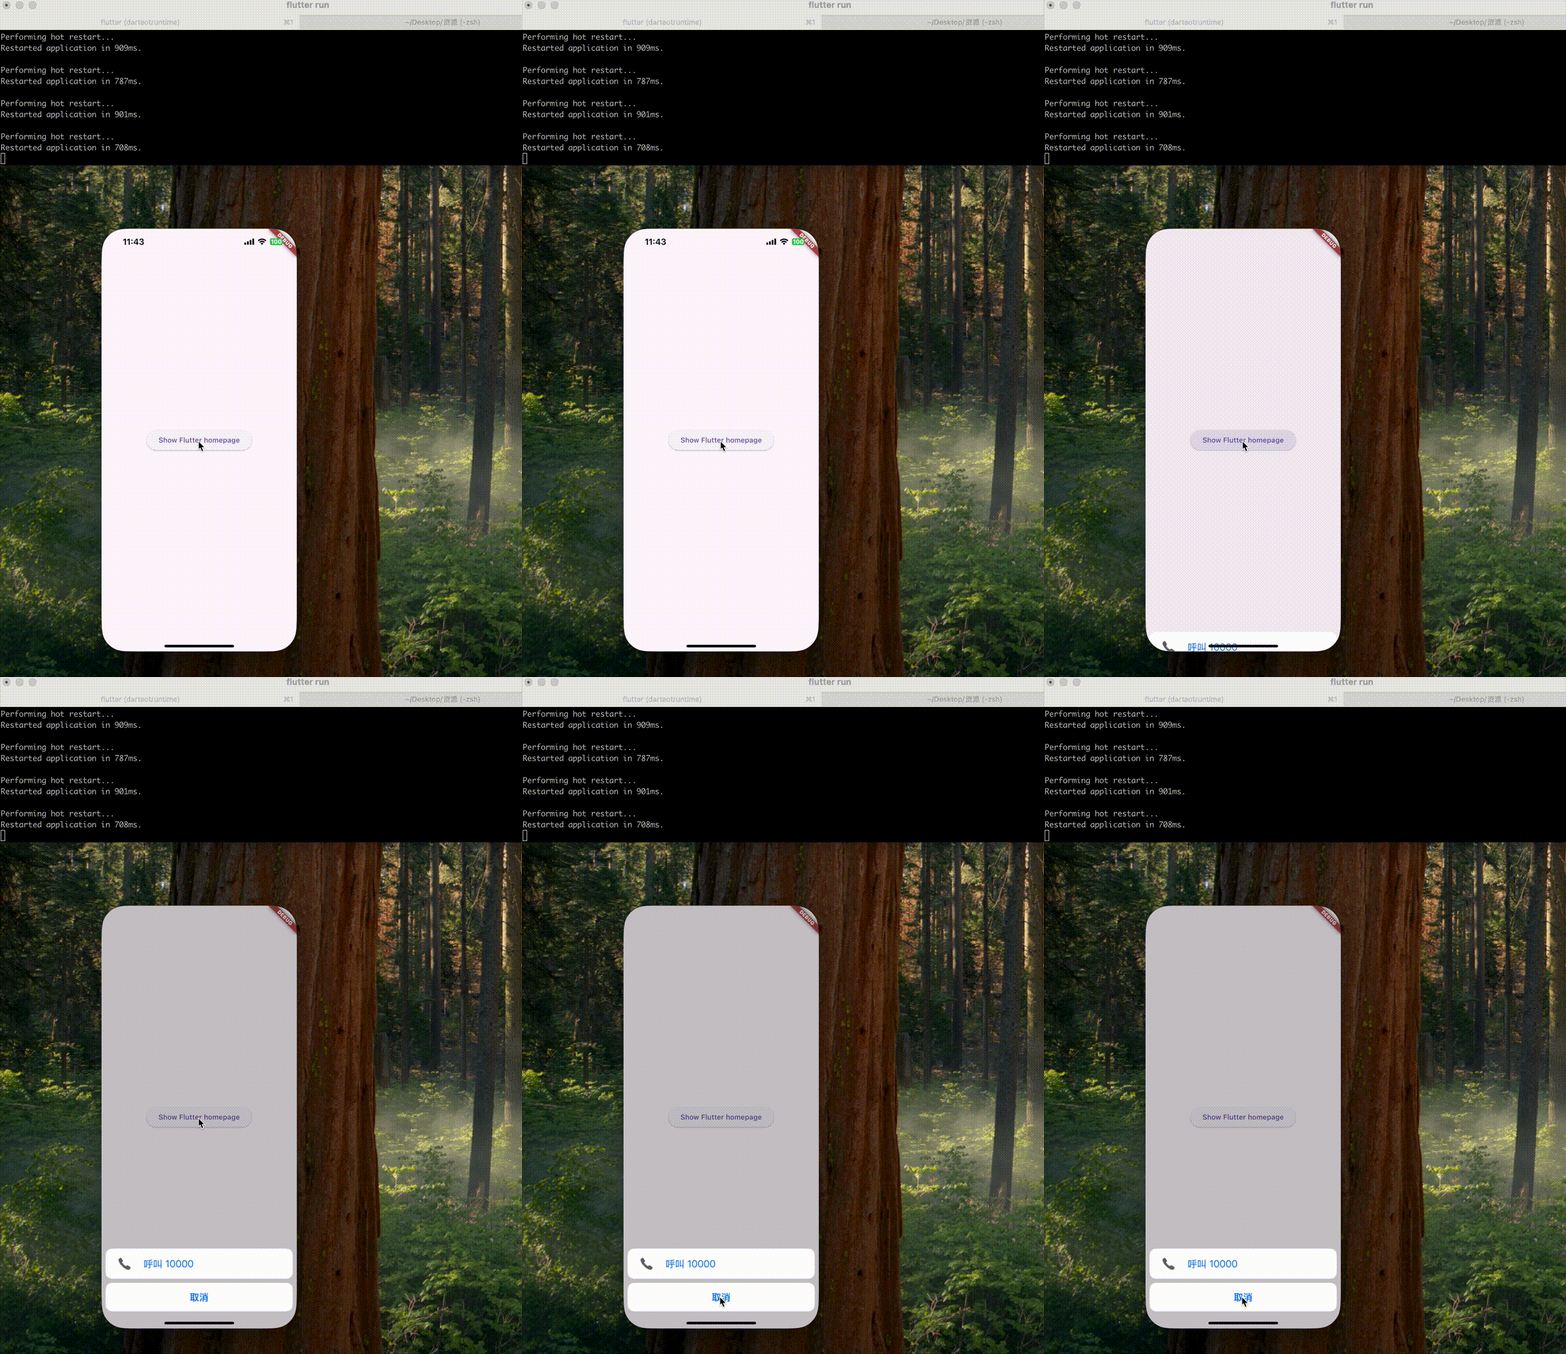
导航
两个页面之间切换
UIKit中,使用UINavigationController来管理视图。Flutter中通过Navigator和Routes来实现相似的功能。
一个Route是一个应用中屏幕或页的抽象,Navigator是一个Widget来管理这些Routes。Route可以粗略的认为是一个UIViewController,Navigator类似iOS中的UINavigationController,可以push和popRoutes。
切页面有两种方法
指定路由表 - pushName
1
2
3
4
5
6
7
8
9
10
11
12
13
14
15
16
17
18
19
20
21
22
23
24
25
26
27
28
29
30
31
32
33
34
| import 'package:flutter/material.dart';
import 'package:navigation/second_route.dart';
void main() {
runApp(const MainApp());
}
class MainApp extends StatelessWidget {
const MainApp({super.key});
@override
Widget build(BuildContext context) {
return MaterialApp(
title: "导航示例",
home: Builder(
builder:
(context) => Scaffold(
appBar: AppBar(title: Text("导航")),
body: Center(
child: ElevatedButton(
onPressed: () {
Navigator.of(context).pushNamed('/second');
},
child: const Text("到第二个页面"),
),
),
),
),
routes: {'/second': (context) => const SecondRoute()},
);
}
}
|
1
2
3
4
5
6
7
8
9
10
11
12
13
14
15
16
17
18
19
20
21
22
23
| import "package:flutter/cupertino.dart";
import "package:flutter/material.dart";
class SecondRoute extends StatelessWidget {
const SecondRoute({super.key});
@override
Widget build(BuildContext context) {
return Scaffold(
appBar: AppBar(title: const Text("第二个路由页面")),
body: Center(
child: CupertinoButton(
onPressed: () {
Navigator.pop(context);
},
child: const Text("返回"),
),
),
);
}
}
|

返回 - pop
Flutter中使用如下代码实现pop功能
1
2
| # 或 Navigator.pop()
SystemNavigator.pop()
|
在iOS上约等于如下的实现
1
2
3
4
| UIViewController* viewController = [UIApplication sharedApplication].keyWindow.rootViewController;
if ([viewController isKindOfClass:[UINavigationController class]]) {
[((UINavigationController*)viewController) popViewControllerAnimated:NO];
}
|
指定路由表 - push
在push方法中直接用builder跳转,而不需要通过路由表
1
2
3
4
5
6
7
8
9
10
11
12
13
14
15
16
17
18
19
20
21
22
23
24
25
26
27
28
29
30
31
32
33
34
35
36
| import 'package:flutter/material.dart';
import 'package:navigation/second_route.dart';
void main() {
runApp(const MainApp());
}
class MainApp extends StatelessWidget {
const MainApp({super.key});
@override
Widget build(BuildContext context) {
return MaterialApp(
title: "导航示例",
home: Builder(
builder:
(context) => Scaffold(
appBar: AppBar(title: Text("导航")),
body: Center(
child: ElevatedButton(
onPressed: () {
Navigator.of(context).push(
MaterialPageRoute(
builder: (context) => const SecondRoute(),
),
);
},
child: const Text("到另一个页面"),
),
),
),
),
);
}
}
|

指定路由表 - go_router
go_router是一个用于Flutter声明式的路由包,使用Router API为不同屏幕间进行切换
1
| $ flutter pub add go_router
|
会在pubspec.yaml文件中添加go_router依赖包,并下载
1
2
3
4
5
6
7
8
9
10
11
12
13
14
15
16
17
18
19
20
21
22
23
24
25
26
27
28
29
30
31
32
| import 'package:flutter/material.dart';
import 'package:go_router/go_router.dart';
import 'package:navigation/second_route.dart';
void main() {
runApp(MaterialApp.router(title: '导航', routerConfig: _router));
}
final _router = GoRouter(
routes: [
GoRoute(path: '/', builder: (context, state) => const FirstScreen()),
GoRoute(path: '/second', builder: (context, state) => const SecondRoute()),
],
);
class FirstScreen extends StatelessWidget {
const FirstScreen({super.key});
@override
Widget build(BuildContext context) {
return Scaffold(
appBar: AppBar(title: const Text('第一个界面')),
body: Center(
child: ElevatedButton(
child: const Text('使用go_router跳转'),
onPressed: () => context.go('/second'),
),
),
);
}
}
|
1
2
3
4
5
6
7
8
9
10
11
12
13
14
15
16
17
18
19
20
21
22
23
| import "package:flutter/cupertino.dart";
import "package:flutter/material.dart";
import "package:go_router/go_router.dart";
class SecondRoute extends StatelessWidget {
const SecondRoute({super.key});
@override
Widget build(BuildContext context) {
return Scaffold(
appBar: AppBar(title: const Text("第二个路由页面")),
body: Center(
child: CupertinoButton(
onPressed: () {
context.go('/');
},
child: const Text("返回"),
),
),
);
}
}
|
导航到其它应用
在UIKit中使用URL scheme来实现。Flutter可以使用类似 url_launcher 的插件来实现。
|
Android |
iOS |
Linux |
macOS |
Web |
Windows |
| 支持 |
SDK 16+ |
12.0+ |
Any |
10.14+ |
Any |
Window 10+ |
1
| $ flutter pub add url_launcher
|
加载Web界面
1
2
3
4
5
6
7
8
9
10
11
12
13
14
15
16
17
18
19
20
21
22
23
| import 'package:flutter/material.dart';
import 'package:url_launcher/url_launcher.dart';
final Uri _url = Uri.parse('https://flutter.cn');
void main() => runApp(
const MaterialApp(
home: Material(
child: Center(
child: ElevatedButton(
onPressed: _launchUrl,
child: Text('Show Flutter homepage'),
),
),
),
),
);
Future<void> _launchUrl() async {
if (!await launchUrl(_url)) {
throw Exception('Could not launch $_url');
}
}
|

加载其它应用
在Info.plist添加允许打开短信和电话的配置
1
2
3
4
5
| <key>LSApplicationQueriesSchemes</key>
<array>
<string>sms</string>
<string>tel</string>
</array>
|
1
2
3
4
5
6
7
8
9
10
11
12
13
14
15
16
17
18
19
20
21
22
23
24
25
26
27
28
| import 'package:flutter/material.dart';
import 'package:url_launcher/url_launcher.dart';
final Uri _url = Uri.parse('tel://10000');
void main() => runApp(
const MaterialApp(
home: Material(
child: Center(
child: ElevatedButton(
onPressed: _launchUrl,
child: Text('Show Flutter homepage'),
),
),
),
),
);
Future<void> _launchUrl() async {
if (await canLaunchUrl(_url)) {
if (!await launchUrl(_url)) {
throw Exception('Could not launch $_url');
}
}
}
|

参考
- 给 UIKit 开发者的 Flutter 指南
- url_launcher


